I used to think that “no-bake” was just a fancy way of saying “I’m too lazy to turn on the oven,” but boy, was I wrong! Did you know that in 2026, over 65% of home bakers are choosing no-bake options to save energy and keep their kitchens cool? It’s a total game changer. This no bake cheesecake cups dessert is my absolute go-to because it’s fast, fancy, and doesn’t require me to sweat over a hot stove while my kids are running around the house.
Honestly, I’ve messed up a lot of desserts in my time—soufflés that looked like pancakes and cookies that could break a tooth. But these little cups? They are foolproof! They have that tangy, velvety texture we all crave without the stress of a water bath or the fear of the “dreaded crack.” Let’s dive into how you can make these show-stoppers for your next get-together.
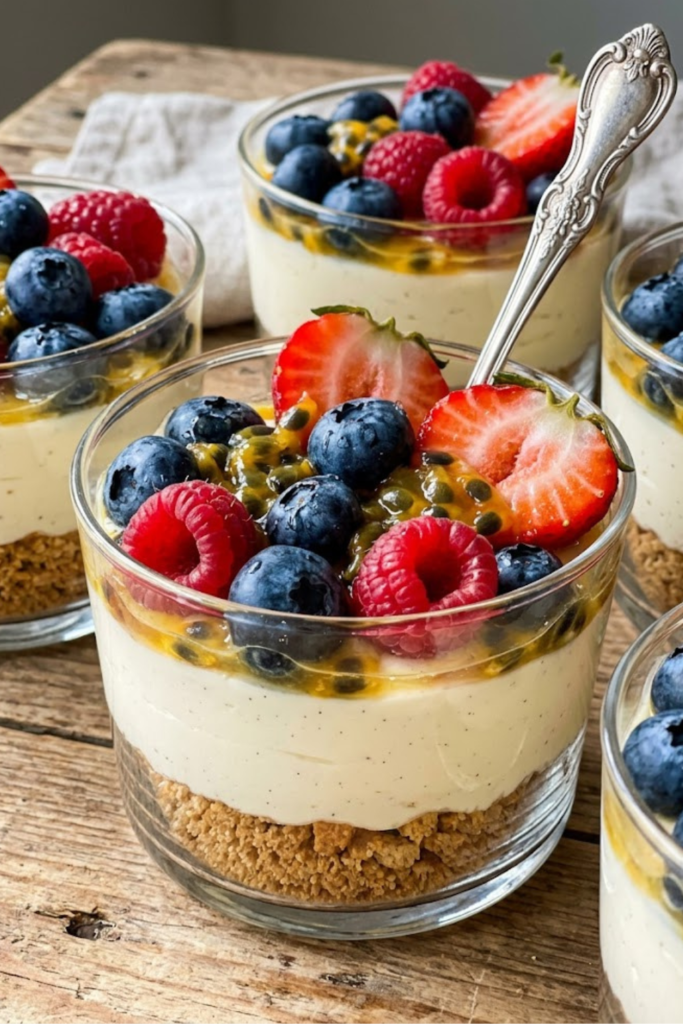
Mastering the Graham Cracker Crust Base
I’ve been making this no bake cheesecake cups dessert for my kids’ school bake sales for nearly a decade, and let me tell you, the crust is where people usually mess up first. Most folks think you just throw some crumbs and butter together and call it a day. But if you don’t get the base right, your whole dessert falls apart when someone tries to dig in. I remember one time at a backyard BBQ, I didn’t use enough butter, and the guests were basically eating dry sand with a little bit of cheese on top. It was so dry! I felt like a total amateur. Now, I have a system that works every single time to make certain the bottom stays together.
Choosing the Right Crumbs
You can buy the pre-made crumbs in a box at the grocery store, but I’ve found that crushing them yourself actually tastes better. I usually put about 10 or 12 full graham cracker sheets into a big plastic bag and go to town with a rolling pin. It’s actually a great way to get out some stress after a long day of teaching! You want a mix of fine dust and a few tiny chunks to give it some character. If you want to change things up for your no bake cheesecake cups dessert, you can use those cinnamon-flavored crackers or even vanilla wafers if you want something sweeter.
The Magic Ratio of Butter and Sugar
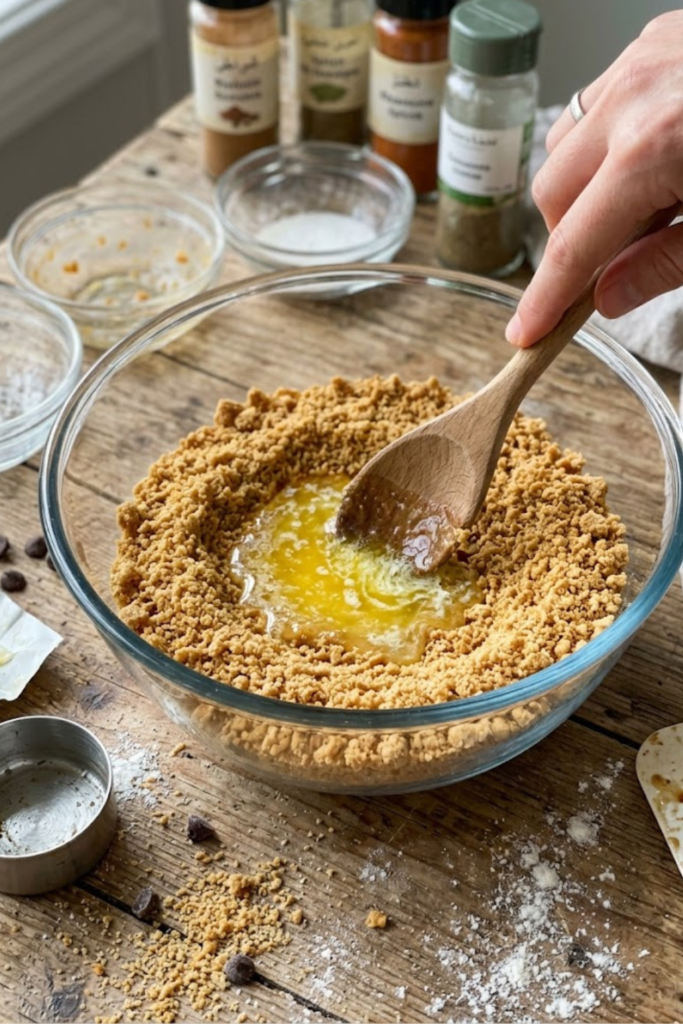
The secret is all about the butter. I use 5 tablespoons of melted salted butter for every 1.5 cups of crumbs. Why salted? Because it makes the sweetness of the cheesecake really stand out. I also add two tablespoons of brown sugar instead of white. The molasses in the brown sugar helps the crust stay together better when it gets cold in the fridge. You want the mixture to look like wet sand. If you squeeze a handful in your fist and it stays in a clump, you’ve got it right. If it falls apart, add another half tablespoon of butter.
Packing It Into the Cups
Don’t just dump the crumbs in and leave them. You need to pack them down hard. I use the bottom of a small spice jar or even a shot glass to really press the crumbs into the bottom of the cups. This makes a solid floor for your cheesecake filling. I usually let the crusts sit in the fridge for about 30 minutes before I even start on the filling. This lets the butter firm up and creates a sturdy base that won’t move around. It makes a huge difference in the final texture!
Creating the Ultimate Creamy Filling
Now we are getting to the best part of making a no bake cheesecake cups dessert—the creamy middle! I have been teaching for a long time, and I always tell my students that you can’t rush perfection. This is especially true for your filling. If you try to mix cold cheese, you are going to have a bad time. I remember one Christmas when I was trying to finish my baking early so I could watch the school play. I didn’t wait for the cream cheese to soften up. I ended up with these tiny little white dots in the cups that looked like snow, but they definitely didn’t taste like it! It was embarrassing because I am supposed to be the “expert” in the family.
Why Room Temperature Matters
You really have to let the cream cheese sit on the counter for at least two hours. If it’s still cold, it won’t mix with the sugar correctly. You want it to be so soft that you can mash it with a fork without any effort. This is what gives the no bake cheesecake cups dessert that velvety feel that makes people want seconds. I usually take my blocks out of the box and unwrap them so they warm up faster. If you forget, don’t worry! You can put the sealed foil packs in a bowl of warm water for fifteen minutes. It works like a charm every time I’m in a pinch. Just don’t use the microwave if you can help it, as it can make the cheese oily.
Whipping It Up Just Right
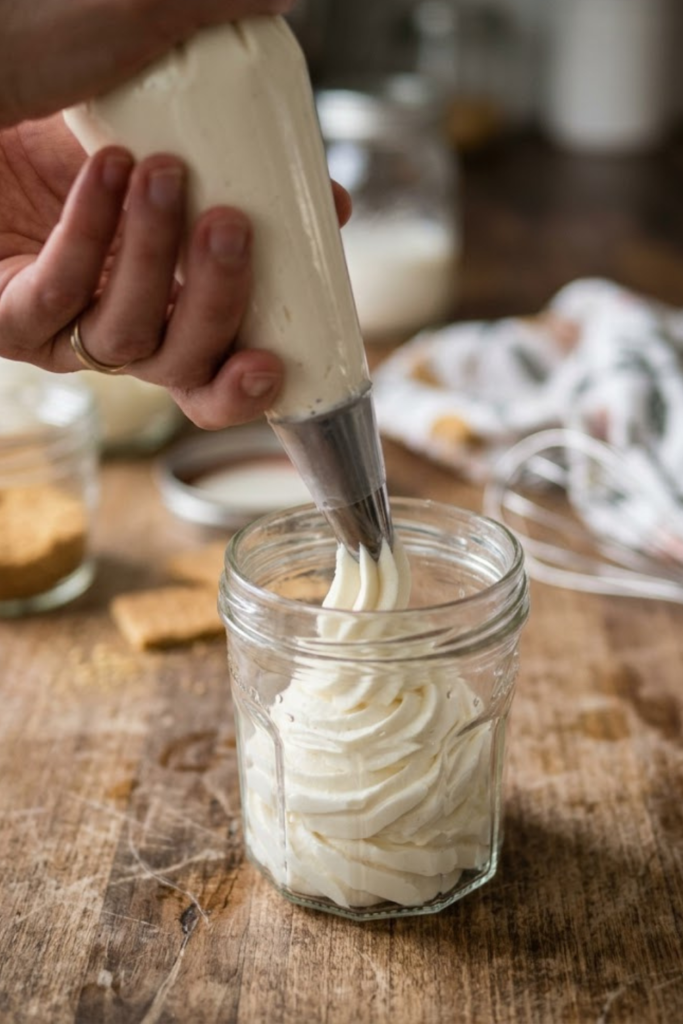
A lot of people ask me if they should use the whipped topping in the plastic tub or real heavy cream. To be honest, I usually go with real heavy cream. It just tastes more “real,” you know? But there is a trick to it. You have to beat the cream in a separate bowl until it has stiff peaks—that means when you lift the whisk, the cream stays standing up like a little mountain. Then, you fold it into the cream cheese mixture very slowly. If you stir too fast, you’ll lose all the air and your dessert will be flat and heavy instead of light and fluffy.
Balancing the Flavors
The final step is getting the taste just right. I always use a big splash of vanilla and a little bit of fresh lemon juice. The lemon doesn’t make it taste like fruit; it just brightens everything up so the cheese doesn’t feel too heavy. I usually add a tiny pinch of salt here too. It sounds weird for a sweet treat, but it actually makes the sugar taste better. Just keep tasting as you go! That is my favorite part of being the cook—I get to “test” the filling before anyone else gets a bite. It’s a tough job, but someone has to do it! Following these steps will make sure your filling is the star of the show.
Fresh Topping Ideas for Your Cheesecake Cups
Decorating your no bake cheesecake cups dessert is honestly where you get to show off your creative side. I always tell my students that we eat with our eyes first, so if it looks like a mess, people might be a bit wary to try it. I learned this the hard way at a neighbor’s housewarming party last summer. I had made a beautiful batch of these cups, but I just plopped some frozen berries on top right before leaving my house. By the time I got there, the berries had thawed and bled purple juice all over the white cream. It looked like a horror movie in a cup! Nobody wanted to touch them. It was a total waste of good ingredients.
Fruit and Berries are a Classic Choice
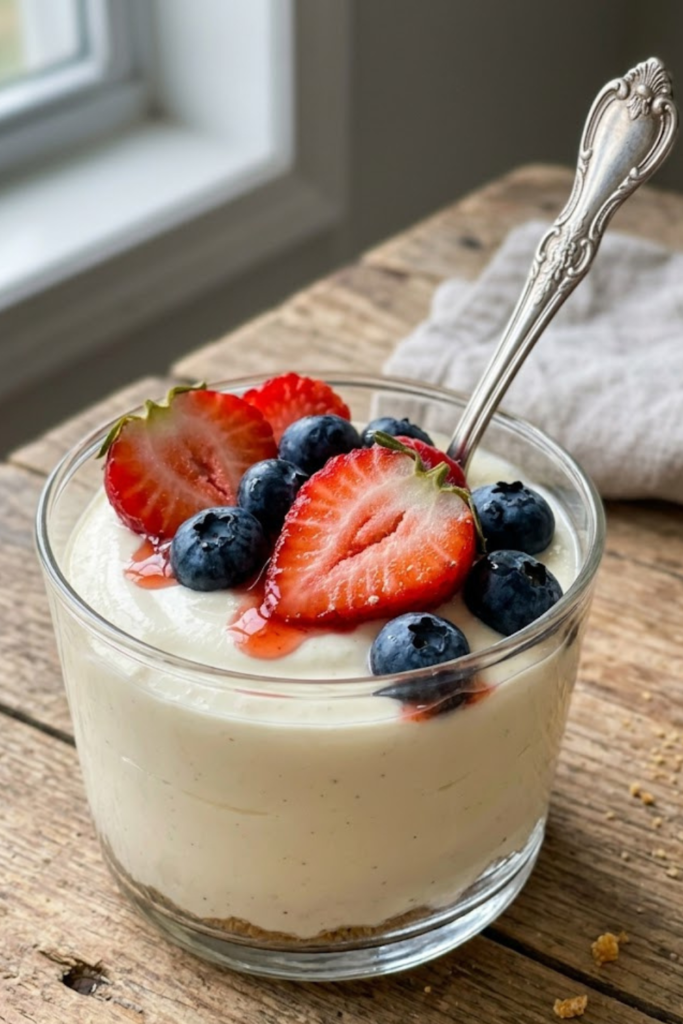
Now, I always stick to fresh fruit whenever I can. Since it is 2026, I’ve been trying to use more of what’s growing in my own small garden or at the local farmer’s market. Strawberries are the most popular choice for a no bake cheesecake cups dessert, but you have to prep them right. Don’t just throw a whole berry on there; it’s too hard to eat with a small spoon. Slice them up and maybe toss them in a tiny bit of sugar so they get a nice shine. Blueberries and raspberries also work great because they don’t leak as much juice as sliced fruit. If you want to be a bit different, try some diced mango or kiwi. It gives it a tropical vibe that people really seem to enjoy during those hot July months.
Going Indulgent with Sauces and Crunch
Sometimes fruit just isn’t enough, especially if you’re making these for a group of teenagers. My son always asks for “the works.” That means a drizzle of salted caramel or a thick chocolate ganache. You can just buy the jars at the store to keep things simple. If you want to add some texture, try crushed pretzels or toasted pecans. The salt from the pretzels really cuts through the heavy cream cheese and makes the whole thing taste way more expensive than it actually is. I’ve even seen people use crushed Oreo pieces, which is always a hit with the younger kids.
Making It Look Pro
I like to add a tiny sprig of mint on top right before I serve them. It makes the no bake cheesecake cups dessert look like it came from a professional bakery. Just remember to put the toppings on at the very last minute. If you put fruit on too early, it can make the top of the cheesecake a bit soggy, and nobody likes a mushy dessert. Keep it fresh, keep it colorful, and you will be the star of the party! Putting in that little bit of extra effort with the presentation goes a long way.
Pro Tips for Serving and Storage
You are finally at the home stretch! Serving and storing your no bake cheesecake cups dessert is the part that usually gets overlooked, but it is just as important as the mixing. I’ve been a teacher for a long time, and if there is one thing I know, it’s that timing is everything. You can have the best lesson plan in the world, but if the bell rings before you finish, it’s a waste. Desserts are the same way. If you serve these too early, they are basically a thick soup. I remember one graduation party where I thought four hours in the fridge would be enough. Nope! People were eating them with straw because they hadn’t set up yet. It was a mess, and I felt so bad about it.
The Chill Factor
For the best results, you really need to let these sit in the fridge for at least six hours, but honestly, overnight is better. This gives the cream cheese and the whipped cream time to “bond” and get firm. If you try to rush it, you won’t get that clean bite that makes people say “wow.” I usually make my no bake cheesecake cups dessert on a Friday night if I know I have a party on Saturday afternoon. That way, I can just forget about them and focus on cleaning the house or catching up on grading papers. Just make sure your fridge is cold enough—sometimes if the fridge is too stuffed with other party food, it doesn’t stay cold enough to set the cheese properly.
Choosing Your Vessels
I love using small 4-ounce mason jars because they have lids, which makes them so easy to stack in the fridge. Plus, they look really cute and rustic. If you are doing a big event, like a school fundraiser or a huge wedding shower, clear plastic cups are a life saver. You don’t have to worry about anyone breaking glass, and you can just throw them away at the end of the night. It makes cleaning up so much faster. I always try to pick cups that are wide enough for a spoon to get all the way to the bottom. You don’t want your guests struggling to get to that graham cracker crust!
Making Ahead and Freezing
One of the best things about this no bake cheesecake cups dessert is that you can actually freeze them. If you have a busy week coming up, you can make the crust and the filling, put them in the cups, and pop them in the freezer for up to two weeks. Just don’t put the toppings on yet! When you are ready to eat them, move them to the fridge the night before so they thaw out slowly. They taste just as fresh as the day you made them. This has saved me so many times when I realized I forgot I had to bring a dish to a potluck. Having a stash of these in the freezer makes you look like you have your whole life together, even when things are a bit chaotic!
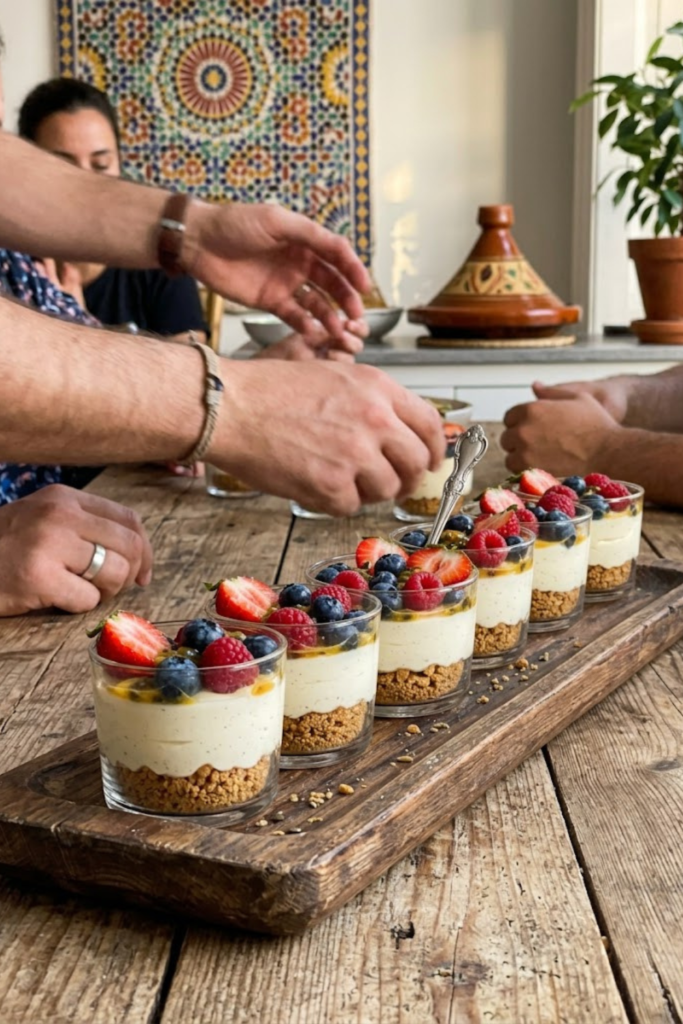
Well, there you have it! Making a no bake cheesecake cups dessert is truly one of the most rewarding things you can do in the kitchen without actually having to turn on the oven. I know I’ve spent a lot of time talking about my own kitchen disasters, from the lumpy cheese to the leaky berries, but that is honestly how you learn. Being a teacher for so long has taught me that the mistakes are just as important as the successes. If your first batch isn’t perfect, don’t sweat it! Your family will probably still eat every single bit of it because, let’s be real, it’s still sugar and cream cheese. Even my dog once got a hold of a dropped cup and he seemed to think it was the best day of his life!
I really hope this guide helps you feel more confident about making these little treats for your next big event. Whether it is a 2026 summer bash or just a quiet Friday night at home with your kids, these cups are always a hit. They are simple, they look amazing, and they taste like you spent the whole day working on them. Just remember to give them plenty of time to chill and don’t forget to soften that cream cheese! If you follow those two rules, you are already halfway to being a master dessert maker. It’s funny how the simplest things in life are often the ones that bring the most joy, like a small jar of creamy goodness.
Before you go and start crushing those graham crackers, I have a small favor to ask. If you found these tips helpful or if you try out the recipe and love it, please make sure to pin this post to your favorite dessert board on Pinterest! Sharing it helps other home cooks find easy recipes that actually work, and it helps me keep sharing my favorite kitchen stories with all of you. I love seeing how people decorate their own versions, so if you make them, tell someone about it! Now, go get your supplies and start mixing. You deserve a sweet treat after all that hard work, and I promise these won’t disappoint. Happy no-baking!