I used to be the person who bought those expensive, crumbly granola bars from the store every single week. Did you know that some “healthy” store-bought bars actually contain more sugar than a glazed donut? It’s true! I was shocked when I finally looked at the labels. That is why I started making this homemade banana oat bars with honey healthy snack recipe in my own kitchen.
I’m a teacher, and my days are usually a total whirlwind of grading and lessons. I need energy that lasts. These bars are my secret weapon! They are chewy, sweet, and don’t leave me feeling like I need a nap at 2 PM.
You don’t need to be a professional chef to get this right. If you can mash a banana, you can do this. Seriously! We’re going to use real food like rolled oats and natural honey to make something your whole family will actually want to eat. Let’s get baking!
The Best Ingredients for Your Healthy Banana Oat Bars
I’ve spent a lot of years in the classroom, and if there is one thing I know for sure, it is that both kids and teachers get really cranky when they are hungry. That is why I am so picky about what goes into this homemade banana oat bars with honey healthy snack recipe. You don’t need a pantry full of weird, expensive stuff you can’t pronounce. Actually, you probably have most of this sitting on your kitchen counter right now. When I first started making these for my own lunches, I thought I could just throw whatever I had in a bowl and it would work out fine. Boy, was I wrong! The ingredients you choose make the whole difference between a bar that stays together in your bag and one that turns into a crumbly mess before recess even starts.
Why the Banana Type Really Matters
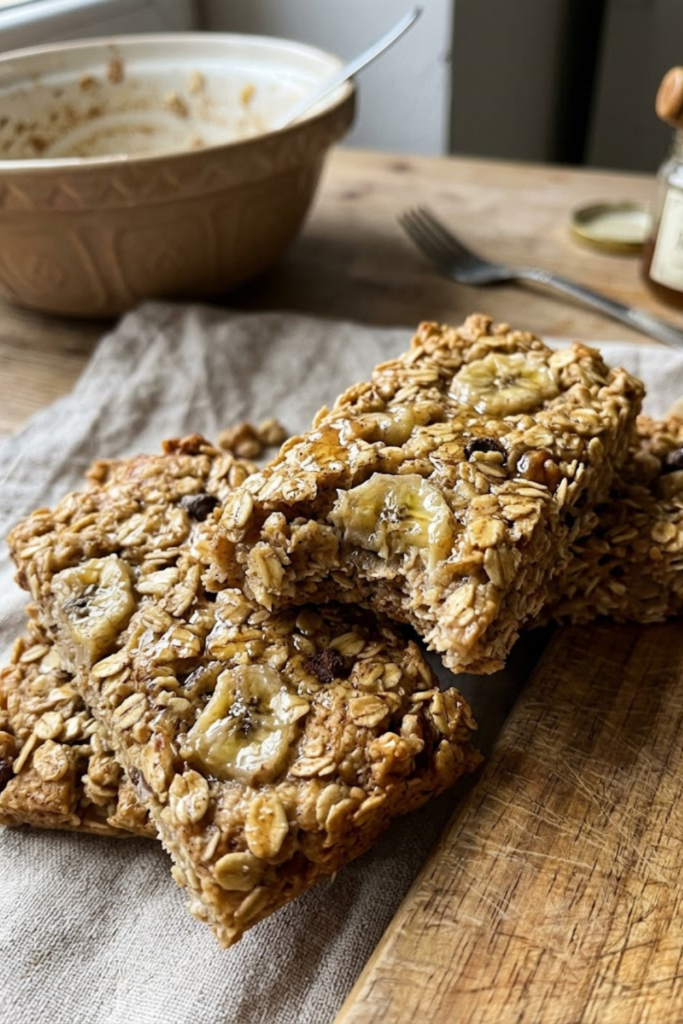
You really want those bananas that look like they are about to go bad. You know the ones I mean—the ones covered in big brown spots that nobody wants to eat plain. If you use yellow bananas that are still firm and “pretty,” your bars won’t be sweet enough and they won’t stick together. I usually wait until my bananas are almost soft to the touch. That is when the natural sugars are at their highest point. It makes the bars taste like a real treat without needing to dump in a bunch of white sugar. I once tried using “perfect” bananas I just bought from the store because I was in a hurry, and the bars were so bland I ended up giving them to the birds. Don’t make my mistake!
Choosing the Right Kind of Oats
This part is super important for the texture. You really should use old-fashioned rolled oats for this. I have tried using the “quick oats” or those “instant oats” packets before because they were cheaper or already in my cupboard, but the texture was just… off. They got really soggy and didn’t have that nice, hearty chew that you want in a granola bar. Rolled oats are flatter and sturdier, so they soak up the banana and honey just enough to get soft while still keeping their shape. If you have someone in your family who can’t have gluten, just make sure you grab the bag that says “certified gluten-free” on the front.
Honey: Nature’s Glue
Finally, let’s talk about the honey. I like using raw honey if I can find it at the local farmer’s market. It is thick and sticky, which is exactly what we need to act as the “glue” for our recipe. It gives a much deeper flavor than regular corn syrup. I also always add a big splash of vanilla and a good shake of cinnamon. It makes the whole house smell like a professional bakery while they are in the oven! These simple things are what make the bars feel special instead of just another boring snack.
My Pro Tips for Baking and Texture
I’ve had a lot of experiments with this homemade banana oat bars with honey healthy snack recipe in my own kitchen, and let me tell you, I’ve messed it up more than a few times. One time, I didn’t use parchment paper because I thought I could just grease the pan really well with butter. I spent thirty minutes scrubbing that pan afterward! It was a total nightmare. So, I’ve learned a few tricks that make the baking part much smoother so you don’t end up with a mess like I did.
Why You Need Parchment Paper
If there is one thing I tell my students, it’s that you have to be prepared. For these bars, that means lining your baking pan with parchment paper. Don’t just put a little square at the bottom; let the paper hang over the sides like little handles. This makes it so much easier to lift the whole block of bars out once they are done. When I try to cut them inside the pan, I always end up scratching my good baking dish, and the first corner piece always gets destroyed. The paper makes it easy to get them out in one piece.
Give the Mix a Good Squish
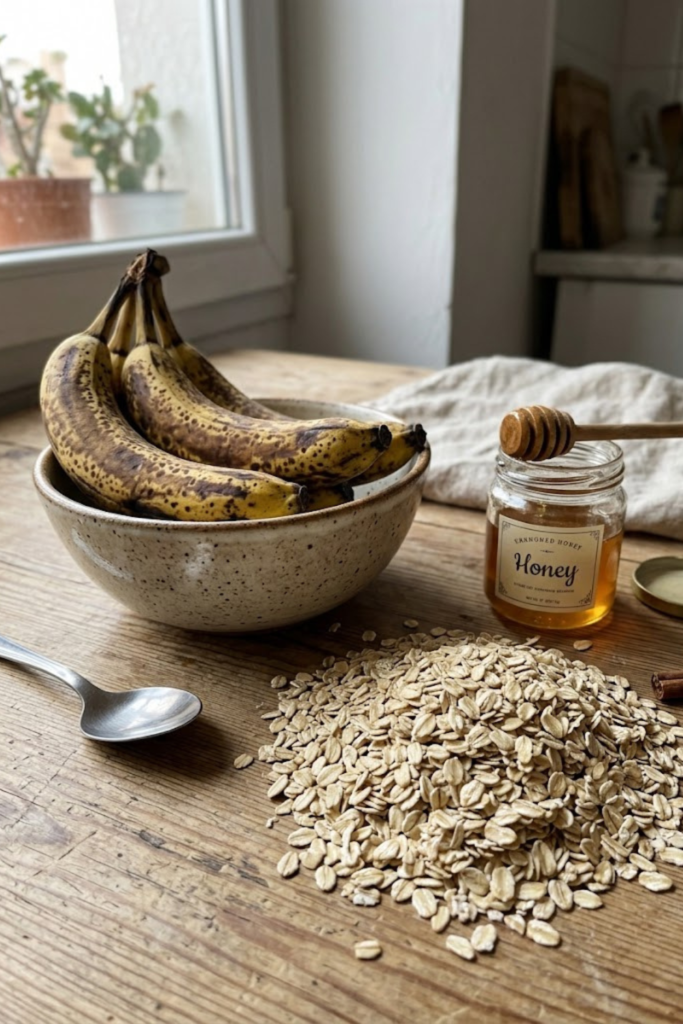
This is probably the biggest secret to getting a bar that doesn’t crumble in your hand. Once you put the oat mixture into the pan, you need to press it down really hard. I usually use the back of a large metal spoon, or sometimes I even use another smaller pan to squish it all down flat. If you just loosely spread it out, the bars will be way too airy and will fall apart when you try to eat them. You want them to be packed in there tight. It’s a bit of a workout for your arms, but it is worth it.
Watching the Clock and the Color
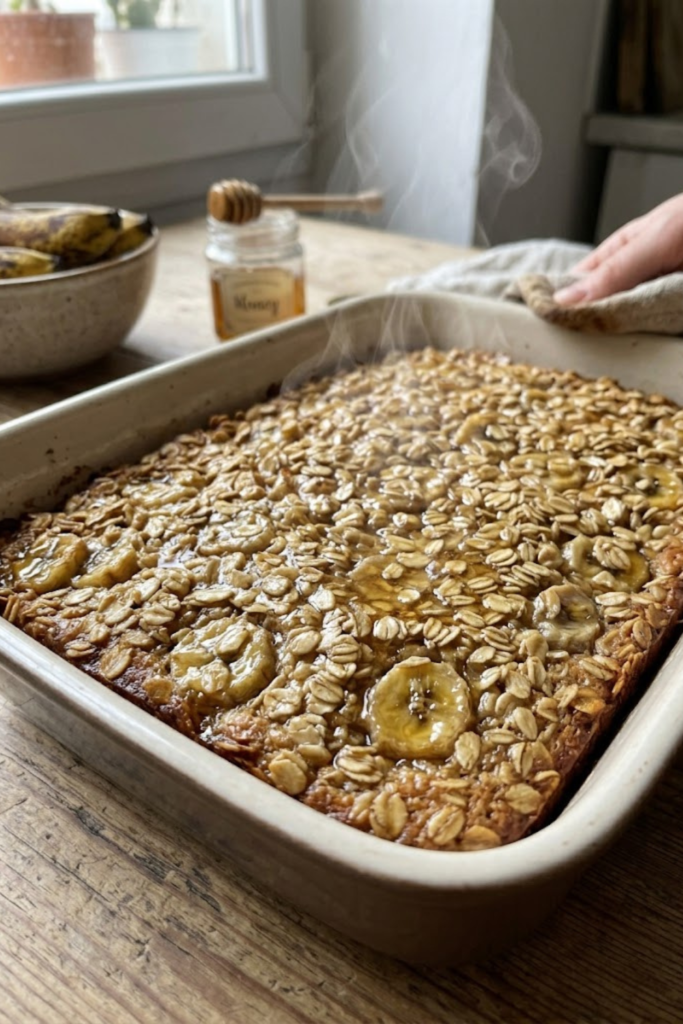
Every oven is a little bit different. My oven at home runs a little hot, so I usually start checking my bars around the 20-minute mark. You are looking for the edges to turn a nice, light golden brown. If you leave them in too long, the honey starts to get a bit bitter and the oats get too hard. You want them to still feel a tiny bit soft when you push on the middle. Don’t worry, they will keep firming up as they sit on the counter.
The Most Difficult Step: Waiting
I know it smells amazing and you probably want to eat one right away, but you have to wait. If you try to cut these while they are still warm, they will just turn into a pile of mush. I usually leave the pan on a wire rack for at least an hour. If I’m really in a rush, I’ll even stick the whole pan in the fridge for a bit. Waiting lets the honey and the mashed bananas really set together. It makes the difference between a “bar” and just a pile of sweet oats. Believe me, the wait is worth it for that perfect chewy bite!
Storing and Prepping for the Week
School mornings are usually a bit of a disaster at my house. Between trying to find my coffee mug and making sure I have my lesson plans ready, I often forget to eat anything at all. That is why I am so obsessed with prepping this homemade banana oat bars with honey healthy snack recipe ahead of time. If I don’t have these ready to go, I usually end up eating a bag of salty pretzels from the vending machine at ten in the morning, and that never ends well for my energy levels. Having a plan makes the whole week feel a lot less stressful.
Keeping Your Bars Fresh and Chewy
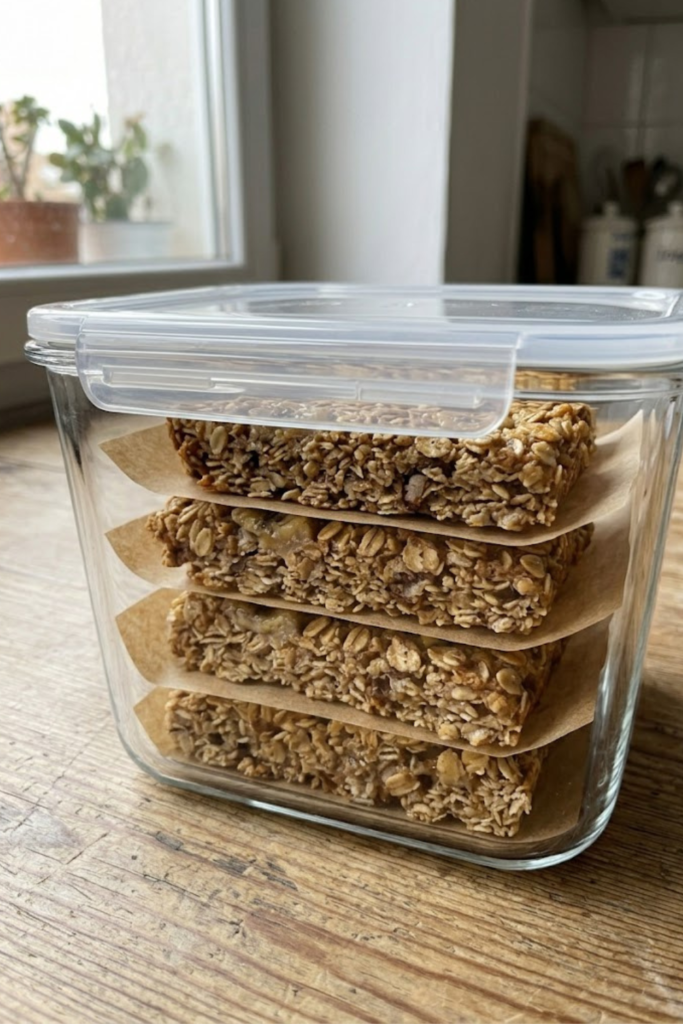
Once you have managed to wait for the bars to cool down and you have cut them into nice squares, you need to think about where they are going to live. If you leave them out on the kitchen counter in the open air, they will get hard and kind of stale within a day or two. I always put mine in a big glass container with a lid that snaps shut tight. It keeps the moisture from the bananas inside the bars so they stay soft. I usually just slide the whole container into the fridge. They stay perfectly good for about a week in there, which is exactly enough time to get me through a full Monday-to-Friday work week.
My Freezer Trick for Long-Term Snacks
Sometimes I get a big burst of energy on Sundays and make two batches at once. I keep one in the fridge for right now and I put the other batch in the freezer for later. But you have to be careful! I once just threw a bunch of bars into a freezer bag all together. When I went to pull one out, it was just one giant frozen brick of oats. I had to let the whole thing thaw just to get a single snack! Now, I take small squares of wax paper and put them between every layer. It makes it so much easier to just reach in and grab one bar for my bag. They thaw out by the time my lunch break rolls around, and they still taste great.
Preparing for the Morning Rush
I also like to pre-wrap some of them individually. I use a bit of plastic wrap or those reusable wraps. This way, if I am running late—which happens more than I like to admit—I can just grab a bar and go. My kids do the same thing for their school bags. It saves us a lot of money compared to buying those boxes of bars at the grocery store. Plus, it is one less thing to worry about during the morning chaos!
Wrapping things up, I really can’t say enough good things about this homemade banana oat bars with honey healthy snack recipe. It has honestly changed the way I look at my snacks for the work week. I used to think that I had to spend a lot of money on those fancy boxes from the health food store to get something that was actually good for me. Now, I realize that I can make something way better in my own kitchen with just a few things I already have. It makes me feel good to know exactly what is going into my body, especially when my day is full of stress and I don’t have time to think about a real meal.
As a teacher, I am always telling my students to try their best and to keep practicing. Making these bars is the same way. The first time you try it, maybe they will be a little too soft or maybe you will forget the cinnamon. That is totally fine! Each time I make a batch on Sunday afternoon, I learn a little something new about how my oven works or how much honey I really like to use. It’s a small way to take care of myself and my family without needing to be some kind of master chef. Plus, it is a great feeling to open my lunch bag at school and see a treat that I actually made myself.
I really hope you give this a try the next time you see a couple of brown bananas sitting on your counter. Instead of throwing them away, you can turn them into something that will give you energy all day long. It is so much better than grabbing a candy bar or a bag of chips when that afternoon slump hits. Once you get the hang of it, you might even start adding your own fun things like dark chocolate or dried cranberries to change things up.
If you found this helpful or if you tried the recipe and liked it, please share this recipe on Pinterest! It really helps other people find simple, healthy ideas that actually taste good. I love seeing when people make these for their own families. Thank you so much for reading along with me, and I hope your kitchen smells amazing after you bake these! Happy snacking, everyone!