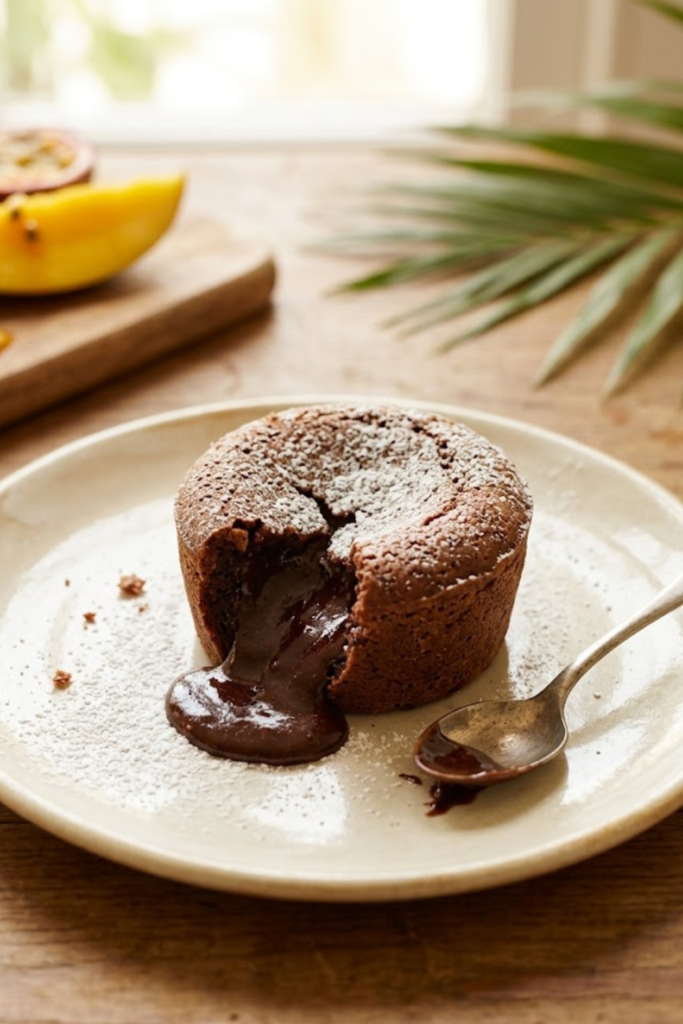
Did you know that “lava cakes” were actually a happy accident caused by a chef pulling a sponge cake out of the oven too early? I’ve always found that hilarious because my best kitchen wins usually start as “oops” moments! If you are looking for a decadent treat that looks like it took hours but actually comes together in minutes, this easy chocolate lava cake is your new best friend.
We’re talking about a rich, buttery exterior with a molten, flowy center that just screams luxury. It’s a classic for a reason! Whether you’re hosting a fancy dinner or just need a massive chocolate fix on a Tuesday night, I’ve got you covered with the best techniques for 2026. Let’s get into the gooey details.
Essential Ingredients for a Rich Molten Center
Listen, I’ve been teaching folks how to bake for years. When you are making an easy chocolate lava cake, your ingredients are the whole show. I’ve found that many people think you need some kind of magic trick to get that liquid middle, but it really just boils down to what you put in your shopping cart. If you start with bad stuff, you’ll end up with a bad cake. It’s that simple. One time, I tried to save a few bucks by using some cheap, waxy chocolate chips from a generic brand. I thought, “Hey, it’s all chocolate, right?” Boy, was I wrong. The cakes came out tasting like plastic, and the center didn’t even flow—it just sat there like a lump of cold fudge. That was a sad night for dessert, believe me.
The Chocolate Foundation
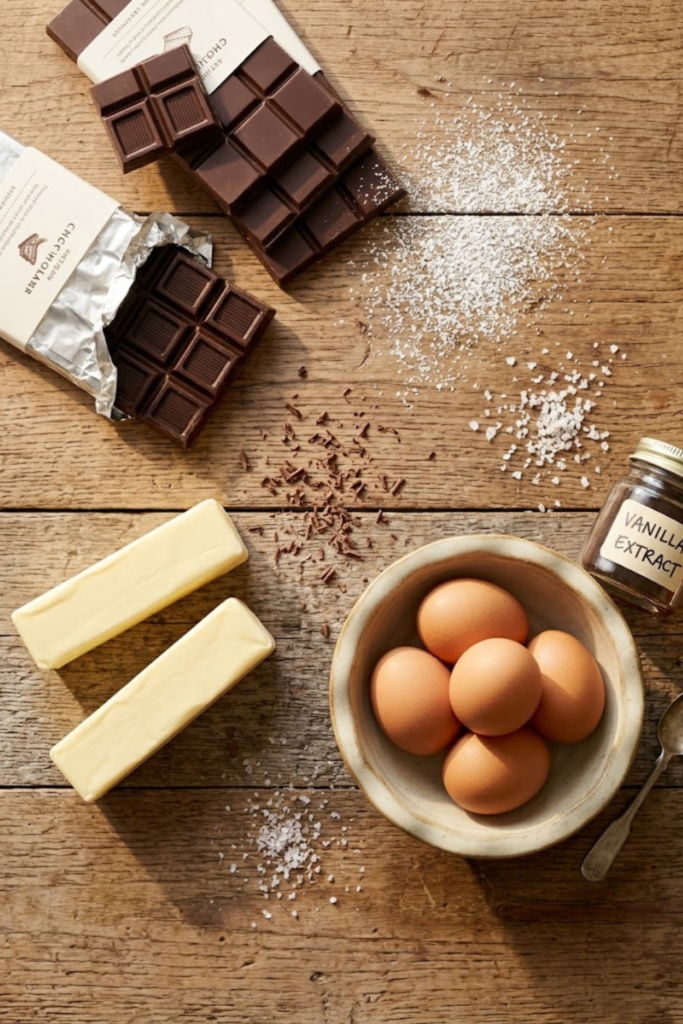
You have to use a high-quality chocolate bar for this to work. I always tell my students to look for bittersweet chocolate that has at least 60% cacao. This gives you that deep, intense flavor that makes people close their eyes when they take a bite. Don’t grab the baking chips if you can avoid it. Chips have stabilizers in them that help them keep their shape when they get hot, but we want our chocolate to melt completely and become a river of sauce.
Butter and Room Temperature Eggs
Next up is the fat. I use unsalted butter because I want to be the boss of the salt level in my food. You’ll melt this right along with your chocolate. Now, here is a big tip: your eggs need to be at room temperature. If you drop cold eggs into your warm, melted chocolate mixture, the whole thing might seize up. It becomes a grainy, thick mess that you can’t really save. I usually set my eggs out on the counter about an hour before I start my prep.
Structure and Flavor
We only need a tiny bit of all-purpose flour for this. We aren’t making a loaf of bread here; we are making a delicate structure that just barely holds the lava inside. A little bit of sugar, a splash of vanilla, and a pinch of salt are the final touches. The salt is super important because it makes the chocolate taste more like chocolate.
The Step-By-Step Baking Process
I remember the first time I tried to bake these cakes for a big dinner party. I was so nervous about the timing that I actually sat on the kitchen floor with a flashlight, staring into the oven door. My kids walked in and thought I had finally lost my marbles! But that’s the thing about making a good easy chocolate lava cake—the actual steps are pretty simple, but you do have to pay attention to the clock. If you get distracted by the laundry or start scrolling on your phone, you might end up with a solid chocolate muffin. Those are still tasty, but they aren’t the gooey miracle we are after today.
Preparing Your Baking Dishes
Before you even think about the chocolate, you need to get your ramekins ready. I usually use the 6-ounce ceramic kind. You want to rub a good layer of butter all over the inside. Don’t be stingy! If you miss a spot, the cake will grab onto the side and tear open when you try to flip it over later. After the butter, I like to dust the inside with cocoa powder. Just put a spoonful in, swirl it around to coat the butter, and then tap out the extra. This helps the outside of your cake look dark and rich instead of having white flour streaks all over it.
Mixing the Batter Just Right
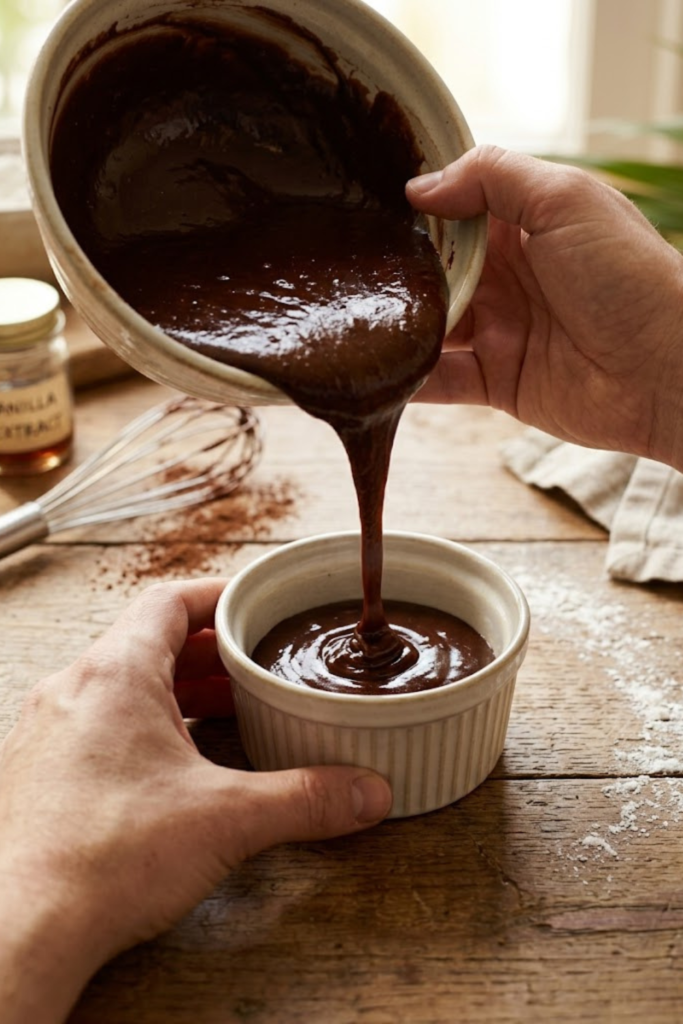
Now, I melt my chocolate and butter together in the microwave. I do it in 30-second bursts and stir it every single time. Don’t just hit “start” for three minutes or you will burn that chocolate, and the smell is just awful. Once it is smooth, let it cool down a little. While that’s happening, beat your eggs and sugar in a separate bowl. I use a hand mixer for about two minutes until the mix looks thick and pale. Then, you gently pour that silky chocolate into the egg mixture. Stir in your tiny bit of flour and vanilla at the very end. You don’t want to over-mix it; just stir until you don’t see any white streaks.
The Timing is Everything
Pour the batter into your prepared dishes, filling them about three-quarters of the way up. Pop them into a hot oven set to 425 degrees. This is the part where you need to stay focused. For my oven, twelve minutes is usually perfect. The edges should look firm and baked, but the center should still have a little jiggle when you gently move the tray. Let them rest for just one minute on the counter before you flip them onto a plate. That one minute helps the cake set just enough so it doesn’t fall apart when it hits the plate!
Pro Tips and Common Mistakes to Avoid
After years of making these for school bake sales and family dinners, I have seen every mistake in the book. It is easy to think that because the recipe is short, you can just wing it. But baking is a bit like a science experiment where you get to eat the results. If you change one little thing, the whole cake might act differently. One time, I tried to double the recipe without thinking, and the cakes took forever to bake. They ended up being dry all the way through! it was so disappointing because everyone was waiting for that “wow” moment when the chocolate spills out. Here are the things I tell my students to watch out for so your dessert turns out perfect.
Watch Out for the Overbaking Trap
The biggest trap you can fall into is the “just two more minutes” trap. I see this all the time. You look at the cake and think the middle looks too liquidy, so you leave it in. Don’t do it! These cakes continue to cook for a few minutes after you take them out of the hot oven. If you wait until the center looks solid, you have just made a regular chocolate cake. You want that center to be soft and a bit wobbly when you pull the tray out. If you are worried, just take one out and test it. If it’s way too runny, you can put the others back for a minute. But usually, that jiggle is exactly what you want to see.
Ingredient Temperatures Really Matter
I mentioned this before, but it is worth saying again because it is that important. Your eggs need to be warm, or at least room temperature. If they are cold from the fridge, they will cool down your melted chocolate too fast. This makes the batter thick and lumpy. It won’t pour right, and the texture will be all wrong. Also, don’t use cold butter. I like to chop my butter into small squares before I melt it so it goes evenly. If you have big chunks, some might burn while others are still solid.
The Important One-Minute Rest
Once the timer goes off, don’t rush to flip them. Give the cakes about sixty seconds to sit on the counter. This helps the outer shell firm up just enough to hold the weight of the lava. If you flip it too soon, the sides might collapse. If you wait too long, the cake might stick to the ramekin. Just a quick minute is the sweet spot. I usually use that time to get my plates ready and grab the powdered sugar for dusting. These little details are what make the cake feel professional instead of just a home experiment. It is all about being patient and watching the clock closely.
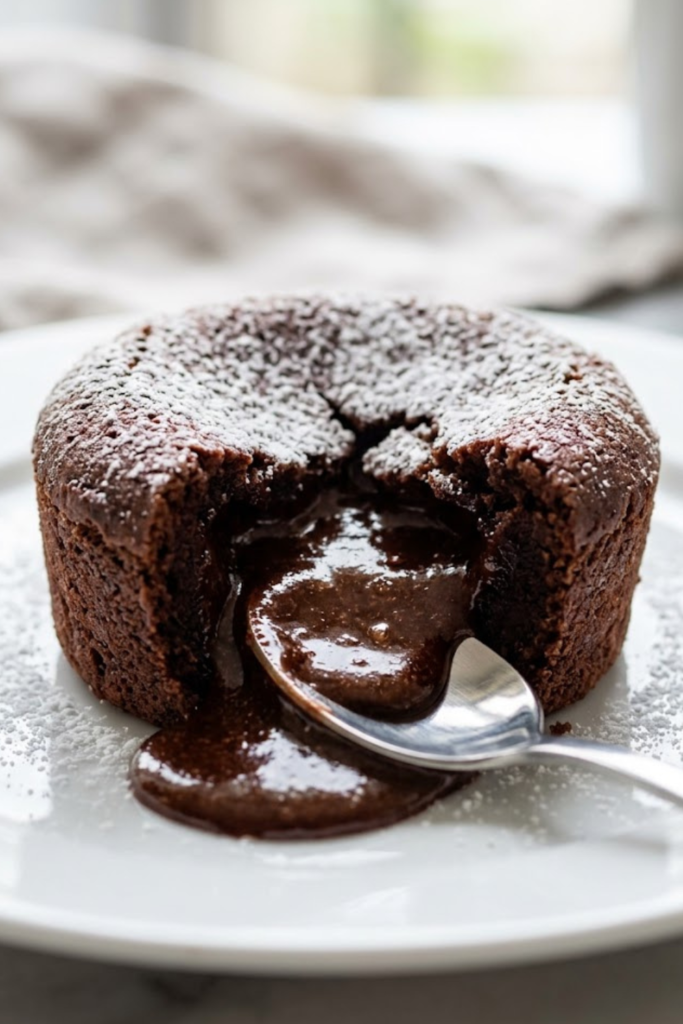
Serving and Sharing the Ultimate Treat
I really hope you give this easy chocolate lava cake a try the next time you have a craving for something sweet. There is just something so special about bringing a tray of these out to the table and watching everyone’s faces when they take that first bite. It makes all that careful timing and ingredient prepping feel totally worth it. I’ve found that even people who say they aren’t “dessert people” usually end up scraping every last bit of chocolate off their plate. It’s a recipe that has never let me down, as long as I remember to set my kitchen timer!
How to Serve Your Masterpiece
While the cake is amazing all by itself, I usually like to dress it up a little bit to make it look fancy. My favorite way to serve this is with a big scoop of cold vanilla ice cream right on top or on the side. The way the cold ice cream starts to melt into the hot chocolate lava is just heaven. If you want something a bit lighter, a handful of fresh raspberries or sliced strawberries adds a nice tartness that cuts through the richness of the chocolate. I also like to give the whole plate a quick dusting of powdered sugar through a small sifter. It makes the cake look like it came straight out of a high-end bakery.
Making Ahead and Storage Tips
One question my friends always ask me is if they can make these ahead of time. The answer is yes! You can actually mix the batter, pour it into the ramekins, and keep them in the fridge for a few hours before you need to bake them. Just remember that if the batter is cold, you might need to add a minute or two to your baking time. If you happen to have any leftovers, which is pretty rare in my house, you can keep them in the fridge. To reheat them, just pop them in the microwave for about fifteen or twenty seconds. They won’t be quite as gooey as when they first came out of the oven, but they are still a delicious treat.
Final Thoughts on Your Baking Journey
Baking should be fun, and this recipe is a great way to practice your skills without feeling overwhelmed. Don’t worry if your first one isn’t perfect; even a “failed” lava cake is still a delicious chocolate cake! The more you make them, the better you will get at knowing exactly when your specific oven has finished the job. It’s all about practice and enjoying the process. If you enjoyed this guide and want to help others find a great dessert, please share this recipe on Pinterest so more people can enjoy a rich and gooey treat tonight!